

Your Mallet Finger Treatment Guide
Everything you need to successfully treat your mallet finger - designed by an orthopedic hand surgeon.
Welcome, and thank you for trusting Mallet Pro with your recovery. You now have the same splinting system I use with my own patients in clinic. This page will show you exactly how to apply and change your splint safely, plus practical tips for the weeks ahead.
The materials in your kit look simple - and that's intentional. Effective mallet finger treatment doesn't require complicated gadgets. It requires the right technique, the right materials, and the right information. You have all three.
The One Rule That Determines Your Success
Never let your fingertip drop or bend during treatment.
Every technique on this page is built around this principle. The tendon (or bone) in your finger needs 6-10 weeks of uninterrupted healing in the extended position.
Even a brief bend - during a splint change, while sleeping, or reaching into a pocket - can set back your healing timeline.
This is why how you change your splint matters as much as wearing it.
How to Apply & Change Your Splint
Watch this video before your first splint application. It covers everything: how to shape the splint to your finger, the safe splint-change technique, and how to secure it with tape.
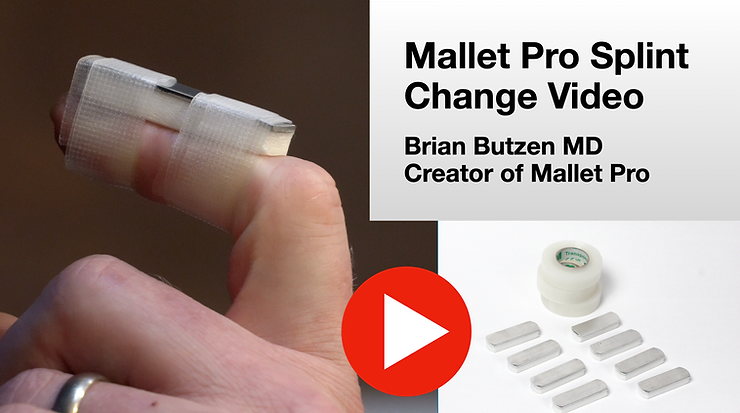
Click to Watch. Video Length: 9 minutes. Watch before your first splint change.

What's in Your Kit
8 Mallet Pro Splints
Pre-cut alumafoam strips ready to shape to your finger. You have enough for the full treatment period plus extras.
3 Rolls of Medical Tape
Half-inch 3M Transpore tape - breathable, secure, and water-friendly. Three rolls will last your full treatment.
Printed Quick-Reference Card
Keep this near where you do splint changes for an easy reminder.

Living With Your Splint
You'll wear this splint 24/7 for 6-10 weeks (or as directed by your medical provider).
Here's how to handle everyday situations.
Showering and Water
Good news: you can shower normally. Your splint and tape can get wet.
After showering:
-
Pat the splint dry with a towel
-
The tape may start to peel at the edges when wet - this is normal
-
If tape loses its grip, re-tape over the damp tape or do a full splint change
-
Some people prefer to do their splint changes right after showering when the old tape comes off easily
-
If you do change your splint after showering, wash the wet splint lightly with soap and water and set it out to dry. Use a fresh, clean splint (the kit has 8 for this reason) when you change the splint
Swimming/Submerging:
Extended time underwater (pools, baths, hot tubs) will loosen the tape faster. You can swim, but plan to re-tape or change your splint afterward.
Using Your Hand
You can (and should) use your hand during treatment - so long as it's protected in the splint. If you are doing sports, add an extra wrap or two (since normally you need to go around twice, if you are doing sports make it 3 or 4 times around) to make sure it's secure.
Generally fine:
-
Typing (your other fingers do the work)
-
Writing
-
Eating
-
Simple gripping
-
Most desk work
Be careful (or add additional tape wraps) with:
-
Reaching into pockets or bags (fingertip can catch and bend)
-
Putting on tight gloves
-
Sports or activities with impact risk, ball sports, wrestling
-
Gripping heavy objects
Avoid:
-
Any activity that puts direct external pressure to flex the fingertip
-
Situations where the splint could get caught or pulled off
A good rule of thumb: if you have to think about whether it's safe, it probably isn't for the next few weeks.
Sleeping
Most people sleep fine with the splint, but the first few nights can feel awkward.
Tips:
-
The splint may feel more noticeable at night simply because you're not distracted
-
Some people tape slightly more snugly at bedtime (not tight - just secure)
-
If you're a restless sleeper, consider wearing a light glove over the splint to prevent catching on bedding
If you wake up and the splint shifted:
Don't panic. Check that your finger is still straight and re-tape or change the splint. Occasional minor shifts during sleep are common.
Work & Typing
Most people return to desk work immediately. You can use your injured finger, as long as it's protected in the splint. Sometimes it can be awkward to use, which is normal. Here's how to adapt:
Keyboard work:
-
Your other fingers compensate quickly - most people adapt within a day or two
-
You may find yourself using adjacent fingers for keys your splinted finger usually hits
-
Some people angle their keyboard slightly for comfort
Manual work:
-
If your job involves heavy gripping, impact, or machinery, talk to your employer about temporary modified duties. You should be able to work normally, but you need to care for your finger as you work.
-
Wrap the finger three or four times around if you are planning to do some heavy grip. This will keep the finger secure in the splint.
-
Gloves can protect the splint in some work environments. You need to wear a slightly larger glove that fits over the splinted finger
-
Prioritize tasks that don't risk the splint during your treatment period
Writing:
If your injured finger is on your dominant hand, writing may feel different but is typically still possible. Give yourself a few days to adapt.
Exercise & Sports
You don't have to stop moving, but you do need to protect the finger.
Generally safe:
-
Walking, running, hiking
-
Stationary bike
-
Lower body weightlifting
-
Activities where your hands aren't at risk
Needs modification (one or two extra tape wraps - so 3 or 4 total):
-
Upper body lifting
-
Yoga (modify poses that put pressure on the fingertip)
-
Racquet sports, golf, basketball, volleyball
The question to ask yourself: "If something unexpected happens (I fall, someone bumps me, I lose grip), could my finger bend?" If yes, skip it for now.
6-10 weeks feels long. It's not. A re-injury that extends treatment to 12+ weeks is much longer.
Skin Care Under the Splint
Your skin may get irritated, sweaty, or dry under the splint. This is normal.
To keep skin healthy:
-
Change your splint when it feels damp or uncomfortable (as often as daily is fine)
-
Inspect your skin during each splint change - look for redness, rash, or breakdown
-
If skin looks irritated, let it air-dry for a few minutes during your splint change before re-splinting (keep finger flat on the table during this time)
-
The splint can be worn on the palm side, which can give the skin a rest. You could look at other splinting options if the skin doesn't recover
-
Avoid lotions or creams directly under the splint - they can make tape slip
If you develop a rash or persistent skin irritation: Contact your medical provider. Some people have tape sensitivities that may require alternatives.
Your Week-by-Week Roadmap
Mallet finger treatment takes patience. Here's a general timeline so you know what's normal. Your specific healing may vary - follow your medical provider's guidance on treatment duration.
Week 1-2: Getting Started
-
Swelling is usually at its worst - your finger may look puffy around the splint
-
Splint changes feel awkward at first; this gets easier
-
You might change splints more frequently as you get comfortable with the technique
-
Focus on perfecting your splint-change routine
Goal: Establish your technique and routine
Week 3-4: Finding Your Rhythm
-
Swelling typically decreases
-
Splint changes feel routine
-
You've adapted to typing, daily activities
-
Skin under the splint may need more attention (dryness, irritation)
Goal: Consistency - same technique, every time
Week 5-6: The Home Stretch
-
You might feel tempted to skip the splint or "test" the finger - don't
-
The tendon is healing but not fully strong yet
-
Continue full-time splinting until cleared by your medical provider
Goal: Maintain discipline through the finish line
After Treatment Ends: Weaning Period
-
Your medical provider may recommend gradually reducing splint wear, or nighttime splinting for a few more weeks, this helps support the tendon as it completes its healing
-
Some stiffness is normal - gentle range of motion exercises may be prescribed
-
Continue protecting the finger during high-risk activities for several more weeks
-
Full tendon strength can take 3-4 months from injury
Goal: Gradual return to normal function